Warp and weft knitting is a fascinating technique that involves interlacing two sets of yarns to create intricate patterns and textures in fabrics. This comprehensive guide explores the basics of warp and weft knitting, including its history, tools, and techniques. Discover how to create stunning textiles using this timeless craft, from simple scarves to complex garments. Whether you’re a seasoned knitter or just starting out, this guide provides all the information you need to master the art of warp and weft knitting.
I. Introduction
A. What is Warp and Weft Knitting?
Warp and weft knitting are two fundamental techniques used in the art of crafting textiles. These techniques involve interlocking loops of yarn to create fabric. While both techniques share similarities in their approach, they differ in the orientation of the yarn during the knitting process.
In warp knitting, the yarn runs vertically or lengthwise along the fabric, forming the foundation of the fabric. Each loop of yarn is interlocked with the adjacent loops in a zigzag pattern. This creates a stable and structured fabric with parallel columns of stitches running vertically.
Weft knitting, on the other hand, involves the yarn running horizontally or widthwise across the fabric. The yarn is interlocked with the adjacent loops in a sequential manner, forming rows of stitches that run horizontally. Weft knitting allows for greater stretch and flexibility in the fabric.
Both warp and weft knitting techniques offer a wide range of possibilities in terms of fabric construction, stitch patterns, and design variations. They are used in various textile applications, including garments, accessories, home decor, and industrial textiles.
B. History of Warp and Weft Knitting
The history of warp and weft knitting can be traced back thousands of years. Knitting as a textile technique originated in the Middle East and Egypt, where early knitted fabrics were used for garments and decorative purposes. However, the specific origins of warp and weft knitting techniques are not well-documented.
Warp knitting gained prominence during the 16th century when knitting machines were invented, allowing for faster and more efficient production. This technique became popular for producing fabrics like tricot, which are commonly used in lingerie, athletic wear, and other stretchy textiles.
Weft knitting, on the other hand, has a longer history and was traditionally done by hand using knitting needles. The advent of mechanical knitting machines in the 19th century revolutionized the production of weft-knitted fabrics, enabling mass production and expanding the possibilities for design and application.
C. Benefits of Learning Warp and Weft Knitting
Learning warp and weft knitting techniques provides numerous benefits for both hobbyists and professionals in the textile industry. Here are some key advantages:
- Versatility: Warp and weft knitting techniques offer a wide range of design possibilities. From simple stockinette stitches to intricate lace patterns or textured motifs, these techniques allow knitters to create diverse fabric structures and visual effects.
- Flexibility and Stretch: Weft knitting, in particular, provides excellent stretch and flexibility, making it suitable for garments and accessories that require ease of movement or a snug fit. The stretchiness of weft-knitted fabrics makes them comfortable to wear and allows for better drape.
- Efficiency in Production: Warp knitting machines enable efficient and rapid production of fabrics, making it a preferred choice for large-scale textile manufacturing. The parallel structure of warp-knitted fabrics lends stability and strength, making them suitable for applications that require durability and resistance to stretching.
- Creative Expression: Learning warp and weft knitting techniques allows individuals to express their creativity and personal style. By experimenting with different yarns, stitch patterns, and color combinations, knitters can produce unique and customized fabric creations.
- Therapeutic and Relaxing: Knitting has been known to have therapeutic benefits, promoting relaxation and stress reduction. The rhythmic motion of knitting and the tactile experience of working with yarn can provide a calming effect and serve as a form of mindful meditation.
II. Tools and Materials
A. Yarn Selection
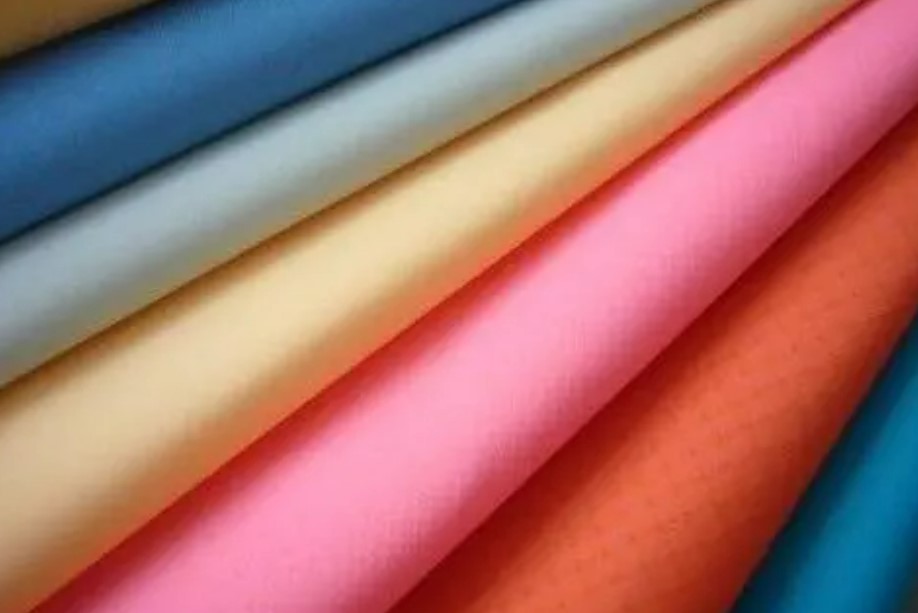
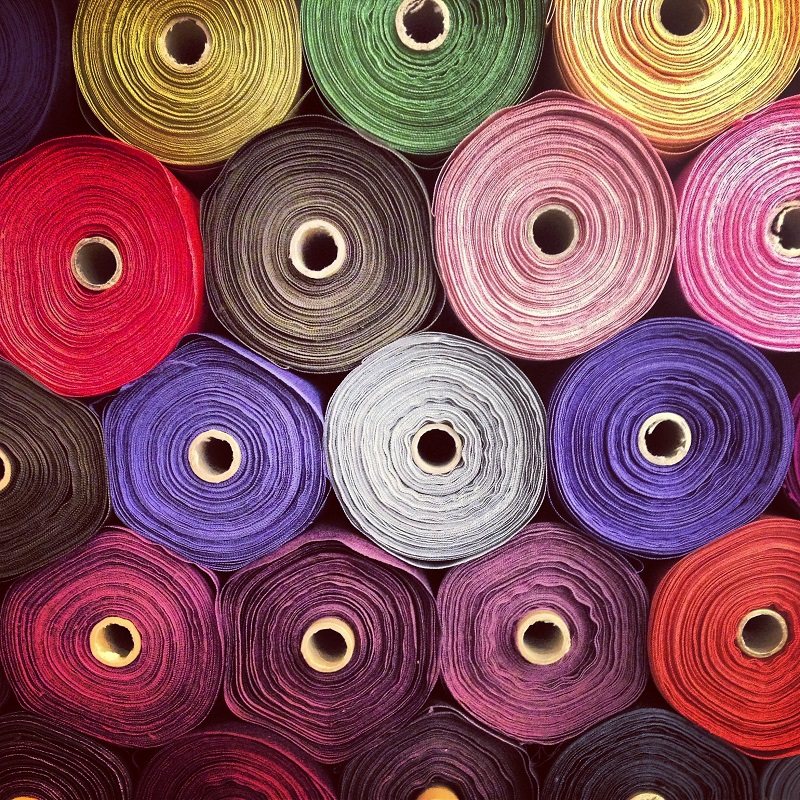
Choosing the right yarn is crucial for achieving desired results in warp and weft knitting. Factors to consider when selecting yarn include fiber content, weight, texture, and color. Different yarns can produce varying fabric characteristics, such as drape, stretch, warmth, and stitch definition.
Natural fibers like cotton, wool, and silk are popular choices for their breathability, comfort, and versatility. Synthetic fibers such as acrylic, nylon, and polyester offer durability, easy care, and affordability. Blends of natural and synthetic fibers can combine the desirable qualities of both.
The weight or thickness of the yarn affects the fabric’s density and drape. Thin yarns create lightweight and delicate fabrics, while thicker yarns produce bulkier and warmer textiles. Texture variations, such as smooth, fuzzy, or textured yarns, can add visual interest and dimension to the knitted fabric.
Consider the intended use of the fabric when selecting yarn. For example, if you’re knitting a scarf, you may opt for a soft and warm yarn, while a lightweight and breathable yarn may be more suitable for a summer top.
B. Needles and Looms
The choice of needles or looms depends on the knitting technique and personal preference. For traditional hand knitting, a variety of knitting needles are available, including straight, circular, and double-pointed needles. Straight needles are used for flat knitting, while circular needles can be used for both flat andcircular knitting. Double-pointed needles are ideal for knitting small circumference items like socks or sleeves.
Needles come in different materials, such as metal, wood, or plastic. Each material offers unique characteristics. Metal needles provide smoothness and durability, while wooden needles offer warmth and a comfortable grip. Plastic needles are lightweight and often budget-friendly.
For warp knitting, specialized knitting machines or looms are used. These machines have multiple needles arranged in a row, allowing for the simultaneous knitting of multiple stitches. Warp knitting machines come in various sizes and configurations, depending on the desired fabric width and complexity.
C. Other Essential Tools
In addition to yarn and needles/looms, there are other essential tools required for warp and weft knitting:
- Scissors: Used for cutting yarn and snipping off excess ends.
- Stitch markers: These small clips or rings are placed on the needles to mark specific stitches or sections in the knitting pattern.
- Tape measure: Essential for measuring gauge, garment dimensions, and ensuring accuracy in knitting.
- Yarn needle: Used for weaving in loose yarn ends and seaming knitted pieces together.
- Stitch holders or safety pins: These tools hold stitches temporarily when working on separate sections of a project or for shaping purposes.
- Row counter: A device or tool used to keep track of the number of rows knitted, especially in complex patterns.
- Blocking tools: Blocking mats, T-pins, and blocking wires are used to shape and stretch the knitted fabric to its desired dimensions and improve stitch definition.
These tools, along with yarn and needles/looms, form the core toolkit for warp and weft knitting. Having the right tools ensures a smooth and enjoyable knitting experience while achieving professional results.
III. Basic Techniques
A. Warping the Loom
Warping the loom is the initial step in preparing the warp yarns for weaving in warp knitting. This process involves setting up the foundation of the fabric by arranging the yarns lengthwise on the loom. Here’s a step-by-step guide to warping the loom:
- Measure and cut the warp yarn: Determine the desired length of the fabric and add extra length for loom waste and fringe if desired. Cut the warp yarn into equal lengths, ensuring they are long enough to span the width of the loom.
- Create a cross: Take the first warp yarn and fold it in half, creating a loop. This loop is called the cross. Slip a dowel or lease stick through the loop to maintain the integrity of the cross and prevent the warp yarns from tangling.
- Attach the cross to the loom: Secure the dowel or lease stick to the back of the loom, ensuring that the cross is positioned at the top. This will keep the warp yarns organized and prevent them from twisting.
- Wind the warp yarn onto the loom: Begin winding the warp yarn onto the loom, moving from the back to the front. Maintain even tension as you wind the yarn, ensuring that it is neither too loose nor too tight. Use lease sticks or other devices to separate the warp yarns and maintain an even width.
- Tie off the warp yarn: Once the warp yarns are wound onto the loom, tie them securely to the front beam of the loom. This will keep the yarns in place during the weaving process.
B. Placing the Yarns
After warping the loom, the next step is to place the yarns in the appropriate order for weaving. The arrangement of the yarns will depend on the desired pattern and design. Here’s an overview of the process:
- Determine the pattern: Decide on the desired weaving pattern, whether it’s a simple plain weave or a more complex pattern like twill or lace. Understanding the pattern will guide the placement of the yarns.
- Divide the warp yarns: Separate the warp yarns into individual strands or groups, depending on the pattern requirements. This can be done by passing each warp yarn through a heddle or by using a warp comb or reed to create divisions.
- Thread the yarns through the heddles: For each individual warp yarn, pass it through the corresponding heddle eye. The heddles are attached to harnesses or shafts that control the movement of the warp yarns during weaving.
- Arrange the yarns in the order of the pattern: Follow the weaving draft or pattern instructions to determine the order in which the yarns should be threaded through the heddles. This will ensure the desired pattern is achieved.
C. Weaving the Yarns
Once the loom is warped and the yarns are properly placed, it’s time to start weaving. This involves interlacing the weft yarns with the warp yarns to create the fabric. Here’s a basic guide to weaving:
- Prepare the weft yarn: Wind the weft yarn onto a shuttle or bobbins, making sure it is adequately tensioned and ready for weaving.
- Position the shuttle: Hold the shuttle or bobbin containing the weft yarn in your dominant hand, keeping the yarn end accessible.
- Insert the shuttle through the shed: The shed refers to the opening created between the raised and lowered warp yarns. Pass the shuttle through this opening, from one side of the loom to the other, going over and under the warp yarns according to the weaving pattern.
- Beat the weft yarn: After inserting the weft yarn, use a beater or reed to push the weft yarn tightly against the previously woven fabric. This helps to create a firm and even weave.
- Repeat the process: Continue weaving, alternating between raising and lowering the appropriate warp yarns to create new sheds. Insert the weft yarn through the shed, beat it down, and repeat the process until the desired length of fabric is woven.
D. Tensioning and Controlling the Yarns
Maintaining proper tension and control over the yarns during weaving is crucial for producing high-quality fabrics. Here are some key considerations:
- Warp tension: Ensure that the warp yarns are evenly tensioned across the width of the loom. Uneven tension can lead to distorted or uneven fabric. Use a tensioning device, such as a tension box or raddle, to achieve consistent tension throughout the weaving process.
- Weft tension: Control the tension of the weft yarn as you insert it through the shed. The tension should be firm enough to create a tightly woven fabric but not so tight that it distorts the warp or causes the fabric to pucker. Practice maintaining consistent weft tension to achieve a uniform weave.
- Yarn control devices: Utilize various tools and devices to control the movement and positioning of the yarns during weaving. This includes devices like heddles, harnesses, and reeds. Heddles are used to guide individual warp yarns through the shedding process, while harnesses or shafts control the groups of warp yarns. A reed or warp comb helps maintain the spacing and alignment of the warp yarns.
- Shedding: The shedding process involves raising and lowering specific warp yarns to create an opening or shed for the weft yarn to pass through. This is achieved by manipulating the harnesses or shafts that control the warp yarns. Proper shedding is crucial for the interlacing of the weft yarn and the creation of the desired fabric pattern.
- Beat-up: After each weft insertion, use a beater or reed to push the weft yarn firmly against the previously woven fabric. This helps to compact the weft, create a tight weave, and ensure the fabric’s stability and integrity.
By mastering these basic techniques of warping the loom, placing the yarns, weaving, and tensioning and controlling the yarns, you can create a wide variety of woven fabrics with different patterns, textures, and designs.
IV. Advanced Techniques
A. Incorporating Colors and Patterns
Once you have mastered the basic techniques of weaving, you can explore advanced techniques to incorporate colors and patterns into your textiles. Here are some methods you can use:
- Color blending: Experiment with blending different colored yarns in the warp and weft to create unique color effects. By combining yarns of different hues, you can achieve gradients, stripes, or even complex color patterns.
- Warp painting: Warp painting involves applying dyes or pigments directly to the warp yarns before they are warped onto the loom. This technique allows you to create intricate designs and images on the fabric.
- Tapestry weaving: Tapestry weaving involves weaving pictorial designs or patterns into the fabric using discontinuous weft threads. This technique allows for detailed and complex imagery to be incorporated into the textile.
- Double weave: Double weave is a technique that enables you to weave two layers of fabric simultaneously, creating a fabric with two separate faces. This technique allows for the incorporation of different colors and patterns on each side of the fabric.
- Jacquard weaving: Jacquard weaving utilizes a special loom attachment called a Jacquard head or machine. This attachment allows for the precise control of each individual warp thread, enabling the creation of intricate and highly detailed patterns.
B. Shaping and Forming the Textile
In addition to creating intricate designs, you can also explore techniques to shape and form the textile itself. Here are some advanced techniques for shaping woven textiles:
- Drape weaving: Drape weaving involves using differential tension in the warp and weft to create three-dimensional shapes in the woven fabric. By manipulating the tension and density of the yarns, you can create curves, pleats, and folds in the fabric.
- Pile weaving: Pile weaving is a technique that involves weaving loops or cut yarns into the fabric to create a raised surface or pile. This technique is commonly used in the production of carpets and rugs.
- Sculptural weaving: Sculptural weaving goes beyond traditional flat textiles and involves creating three-dimensional woven structures. This can be achieved by using a variety of materials, such as wire or other pliable materials, in combination with yarns to create woven sculptures or installations.
C. Adding Embellishments
To further enhance your woven textiles, you can explore various embellishment techniques. These techniques can add texture, dimension, and decorative elements to your woven creations. Here are a few ideas:
- Embroidery: Embroidery involves using needle and thread to add decorative stitches, motifs, or patterns onto the woven fabric. This technique can be used to create intricate designs and embellishments.
- Appliqué: Appliqué is the process of attaching additional fabric or decorative elements onto the woven fabric. This can be done by stitching or fusing the appliqué pieces onto the base fabric, adding visual interest and texture.
- Beading: Beading involves sewing beads or sequins onto the woven fabric, creating sparkling accents or intricate patterns. Beads can be individually stitched or incorporated into larger motifs.
- Fringe and tassels: Adding fringe or tassels to the edges of your woven textiles can provide a decorative finishing touch. These can be made using the same yarn as the woven fabric or contrasting materials for added visual interest.
V. Project Ideas and Tutorials
A. Simple Scarves and Shawls
- Plain weave scarf: Create a simple and elegant scarf using a plain weave pattern. Experiment with different yarns and colors to achieve different textures and effects.
- Rigid heddle scarf: If you have a rigid heddle loom, try weaving a textured scarf using techniques like clasped weft, leno, or Brooks Bouquet.
- Triangular shawl: Weave a triangular shawl using a lace or textured pattern. Explore different stitch patterns and yarn combinations to create a unique accessory.
B. Stylish Accessories
- Woven tote bag: Weave a sturdy and fashionable tote bag using a durable yarn like cotton or linen. Incorporate color patterns or experiment with different weaving techniques.
- Woven jewelry: Create woven jewelry pieces such as bracelets, necklaces, or earrings using small-scale weaving techniques. Combine different fibers, colors, and embellishments to make unique accessories.
- Woven headbands or hair accessories: Weave stylish headbands or hair accessories using narrow weaving techniques. Add beads, ribbons, or feathers for extra flair.
C. Fashionable Garments
- Woven vest or cardigan: Weave a lightweight and versatile vest or cardigan using a soft and drapey yarn. Explore shaping techniques to create a flattering fit.
- Woven dress or tunic: Create a woven dress or tunic using a combination of weaving techniques and patterns. Experiment with color blocking, texture, and shaping to design a fashionable garment.
- Woven kimono or wrap: Weave a flowing kimono or wrap using avariety of yarns and colors. Incorporate different patterns and techniques to create a statement piece.
Remember to adjust the project ideas and techniques based on your skill level and the equipment you have available. Additionally, there are numerous online tutorials, weaving books, and weaving communities where you can find detailed instructions and inspiration for your projects. Enjoy exploring the world of advanced weaving techniques and let your creativity shine!
VI. Troubleshooting and Tips
A. Common Mistakes and How to Fix Them
- Uneven tension: Uneven tension in your warp or weft can lead to an irregular or distorted fabric. To fix this, check your tension regularly while weaving and make adjustments as needed. Ensure that the tension is consistent throughout your project.
- Broken warp threads: If a warp thread breaks, you can fix it by tying a new thread to the broken end and carefully rethreading it through the appropriate heddles and reed. Be sure to maintain the correct tension and continue weaving.
- Weft floats: Weft floats occur when the weft yarn spans over multiple warp threads without being secured. To fix this, use a shuttle or your weaving tool to beat the weft into place after each pass. Pay attention to the beat to prevent long floats.
- Tangled or crossed warp threads: If your warp threads become tangled or crossed, gently comb through them with your fingers or a warp comb to straighten them out. Take care not to pull too tightly, as this can distort the fabric.
- Uneven selvedges: Uneven selvedges can result from inconsistent beat or tension. Pay attention to the selvedge edges while weaving, and make sure to beat evenly and maintain proper tension. You can also use a temple or other selvedge aids to help maintain an even edge.
B. Tips for Improving Your Warp and Weft Knitting Skills
- Practice good ergonomics: Ensure that your weaving setup is comfortable and ergonomic. Adjust the height of your loom or chair to avoid strain or discomfort during long weaving sessions.
- Take regular breaks: Weaving can be a repetitive task, so it’s important to take regular breaks to rest your hands, wrists, and back. This will help prevent fatigue and potential injuries.
- Experiment with different fibers and yarns: Try working with a variety of fibers and yarns to expand your skills and explore different textures and effects in your woven textiles. Each material behaves differently, so experimentation can lead to exciting discoveries.
- Join weaving communities: Connect with other weavers through online forums, social media groups, or local weaving guilds. Sharing knowledge and experiences with fellow weavers can provide valuable insights, troubleshooting assistance, and inspiration.
- Document your projects: Keep a weaving journal or take photos of your projects to track your progress and learn from your experiences. Documenting your techniques, materials, and observations can help you identify areas for improvement and track your growth as a weaver.
VII. Conclusion
A. The Future of Warp and Weft Knitting
Warp and weft knitting techniques have a rich history and continue to evolve in the modern era. As technology advances, we can expect to see innovations in loom design, materials, and weaving software that enhance the efficiency and creativity of the weaving process.
The integration of computer-aided design (CAD) and computer-aided manufacturing (CAM) systems with weaving technology allows for intricate and complex designs to be executed with precision. Digital looms and computerized control systems are becoming more accessible, providing weavers with greater flexibility and control over their designs.
Additionally, sustainable and eco-friendly practices are gaining importance in the textile industry. Weavers are exploring natural and organic fibers, as well as eco-conscious dyeing and finishing processes, to reduce the environmental impact of their work.
B. Encouraging Continued Learning and Practice
To continue growing as a weaver, it is essential to embrace a mindset of lifelong learning and practice. Seek out workshops, classes, and online tutorials to expand your knowledge and skills. Experiment with new techniques, fibers, and patterns to push your boundaries and explore new possibilities.
Remember to be patient with yourself as you learn and improve. Weaving is a craft that requires time and dedication to master. Enjoy the process, celebrate your progress, and let your creativity flourish as you weave beautiful textiles.